Adobe Illustrator is a vector graphics editor and design program. It allows you to create and design graphic illustrations. You can also take images from off the internet or your own, and allows you to edit and create them as your own. From Illustrator you can take your graphics and print them using laser cutters or vinyl cutters. You can also just use them to create logos or other content used online or for billboards. It creates a world of possibilities of what you can use the program for.
|
|
|
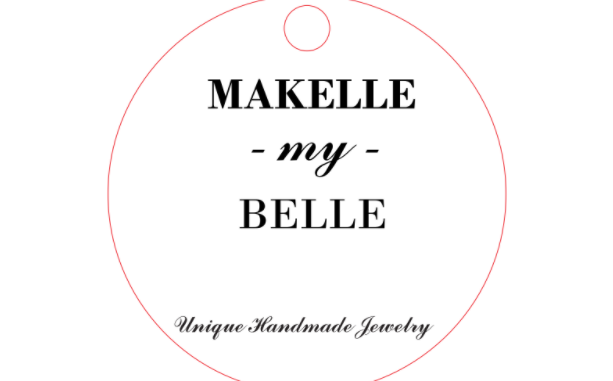
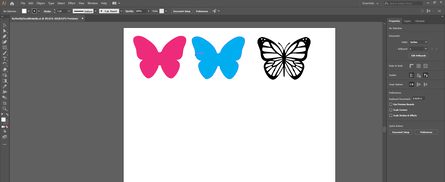
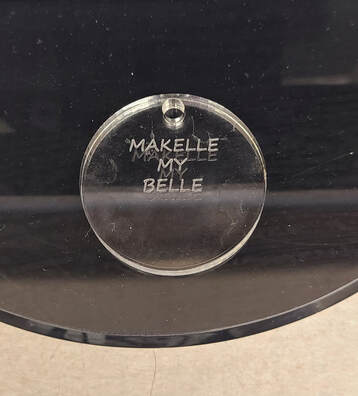
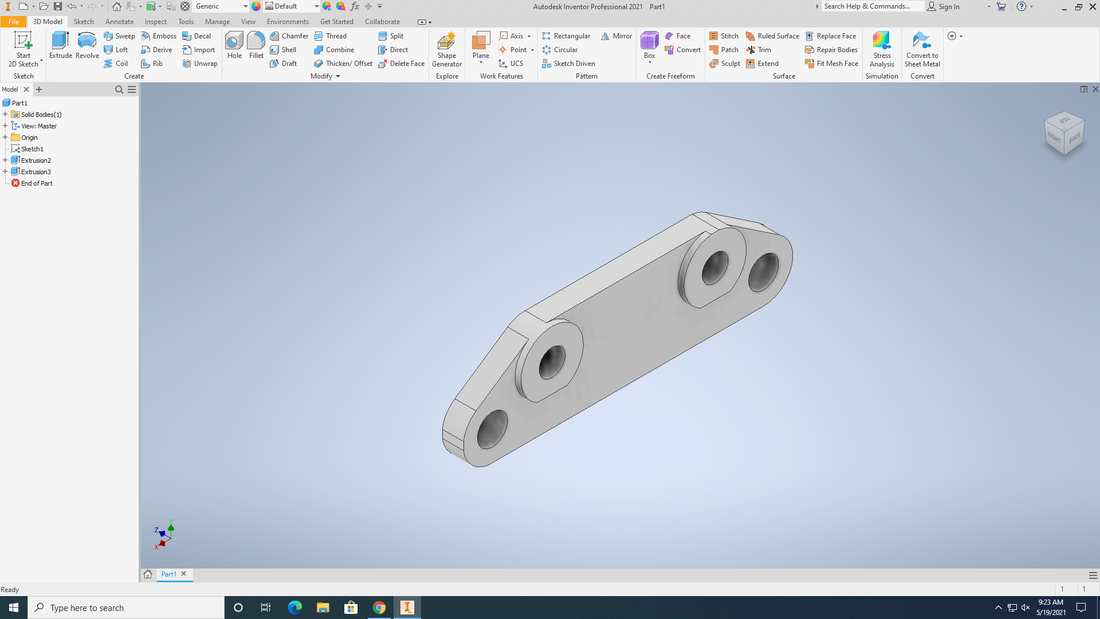
Above are the projects I have completed using Illustrator. To the left is the image of what I used for my keychain. In the center, that is what I used to create my designer notebook cover on the laser. To the right is my vinyl cutout for my vinyl induvial project.
|
STEPS FOR USING THE LASER CUTTER WITH AN ILLUSTRATOR FILE
1. Go to the laser cutter computer and open your illustrator file. In the upper left hand corner is the button File. Click and go down to print. (Print page shown on left)
|
|
2. In the print page, click on Setup...
This will direct you to a new page. Here you will click on Preferences. Then go to the material tab and find material you are using and also the size. Then click OK. 
4. After you have sure that your laser will cut on the material you have and all the settings are ok, you are ready to print. To print, make sure the laser cutter is closed, then press the big green play button and you image will start to be cut out on your material.
|
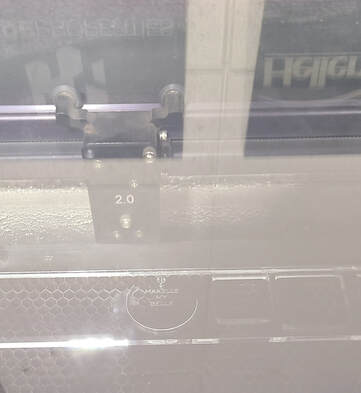
3. Open UCP software on the desktop. Turn on the laser, and put material inside and line it up. Your image will be on the screen. Here you can move the laser to make sure it will cut where it needs to be. The blue dot on the left picture is where the laser would be.
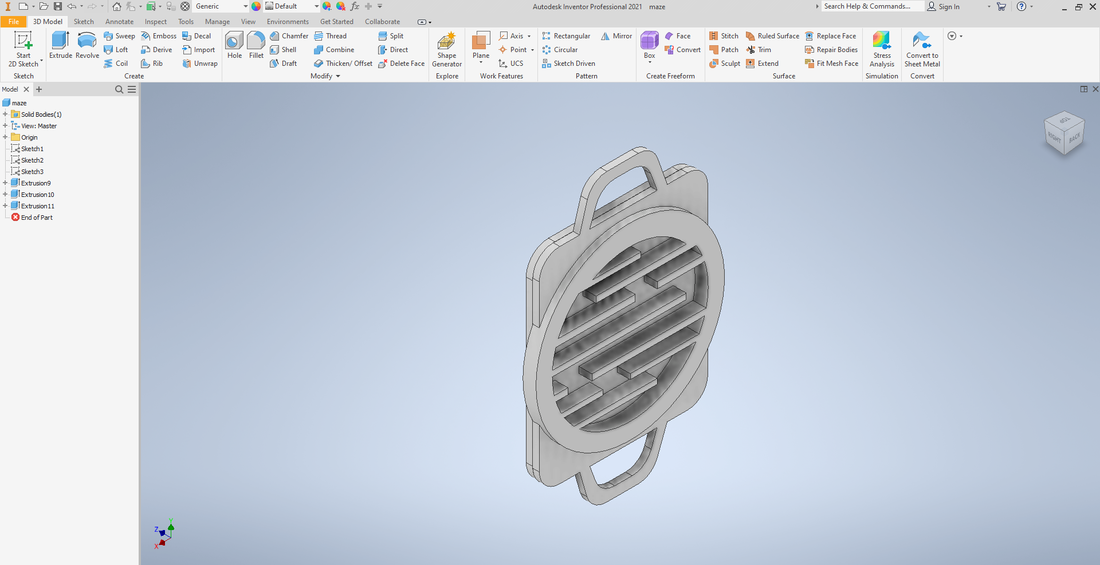
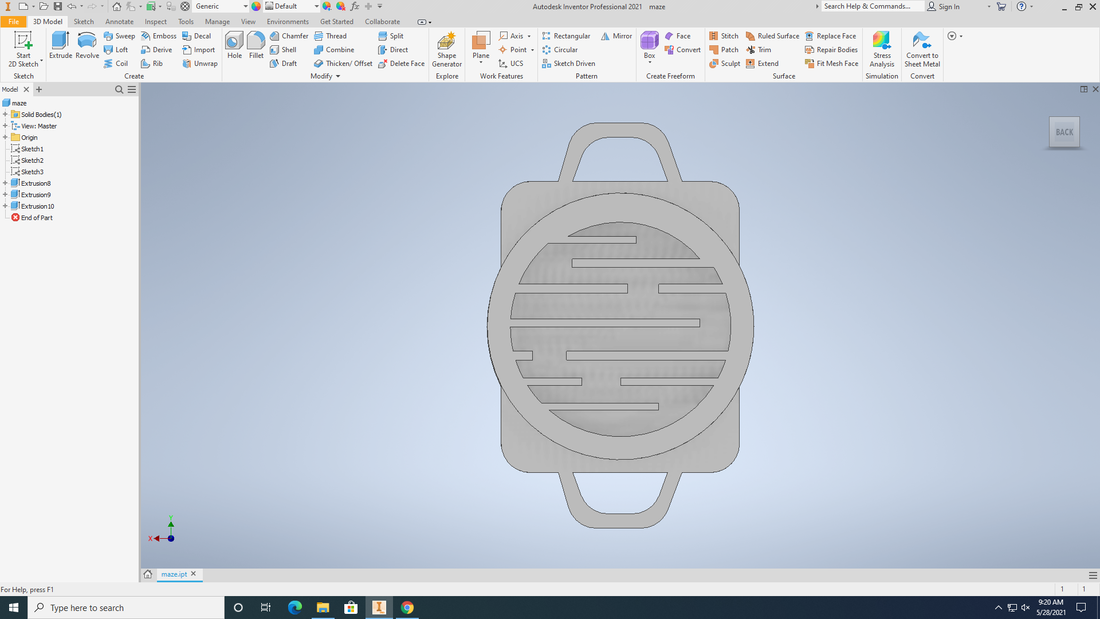
To the left is my final look for the key chain I made. It looks a little different to what I had at first, but I like the simplicity of this one.
|
How To Apply A Vinyl Decal
|
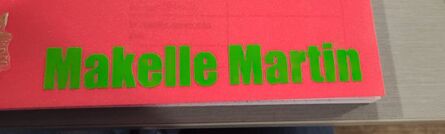
1. Of course the first thing you will have to do is cut out your vinyl. After your vinyl has been cut out you will need to remove the extra vinyl you don't want. We used dental tools to remove the extra but leave the stuff we wanted on the back paper.
|
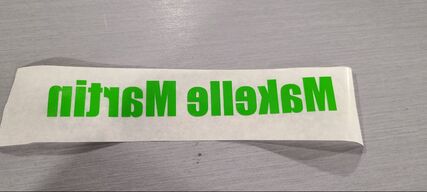
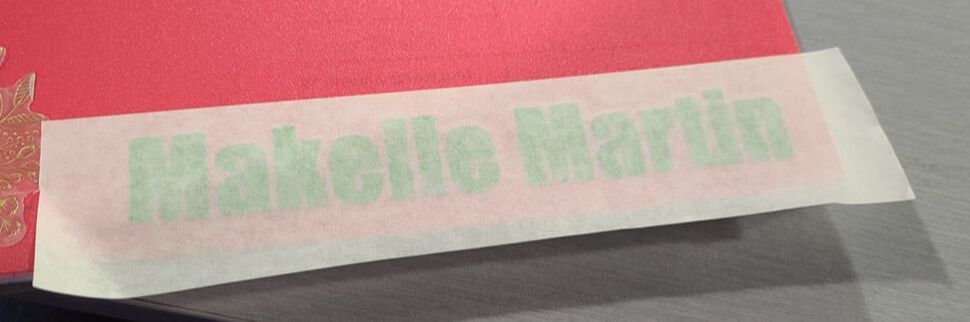
2. Then you will need transfer paper to place your vinyl onto. This makes it so you can have a smooth way to put the decal on and it will all be lined up. Above to the left is the picture of the decal placed onto the transfer paper. It is supposed to be backwards so that is will be right when placed on the object.
|
3. Then after the decal is on the transfer paper, you will want to put it on your object. I chose a notebook I use for school. As shown on the left, you place it on and press down and smooth it. Then pulling all the way back you'll want to take the paper off.
|
|
4. After you have taken off the paper, you will just want to make sure that all the pieces are stuck and there are no air bubbles. Then you are all done. Here is my completed vinyl decal on my notebook.
|
|
Illustrator is a really cool program. I have learned to take an image off the internet and be able to edit it and create something new which is an amazing thing to be able to do. I came across some hiccups, trying to get an image to do something and I didn't know how to. However I was able to overcome problems by asking others for help and reading more instruction. I really enjoyed the creative freedom you have with Illustrator and I will be using it in the future.
