Inventor software gives professional 3D mechanical design, documentation, and product simulation tools. It allows you to work with a powerful blend of parametric, direct, freeform, and rules-based design capabilities.
Widget Sketch
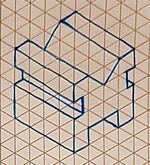
Before creating my widgets in Inventor I drew my widgets as small sketches in graph paper. This helps when scaling and for the overall design on the widget itself.
Before creating my widgets in Inventor I drew my widgets as small sketches in graph paper. This helps when scaling and for the overall design on the widget itself.
How to create a widget in Inventor
Step 1.
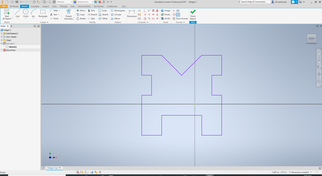
After opening Inventor create new file and start to sketch.
You will need to start a 2D sketch like this. You can use the
line tool to get the shape you want like mine to the right.
After opening Inventor create new file and start to sketch.
You will need to start a 2D sketch like this. You can use the
line tool to get the shape you want like mine to the right.
Step 2.
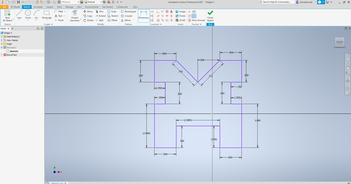
When you have the basic shape of your widget you will want to use the dimension tool to get the right size. This will also help with the overall shape to look my uniform.
When you have the basic shape of your widget you will want to use the dimension tool to get the right size. This will also help with the overall shape to look my uniform.

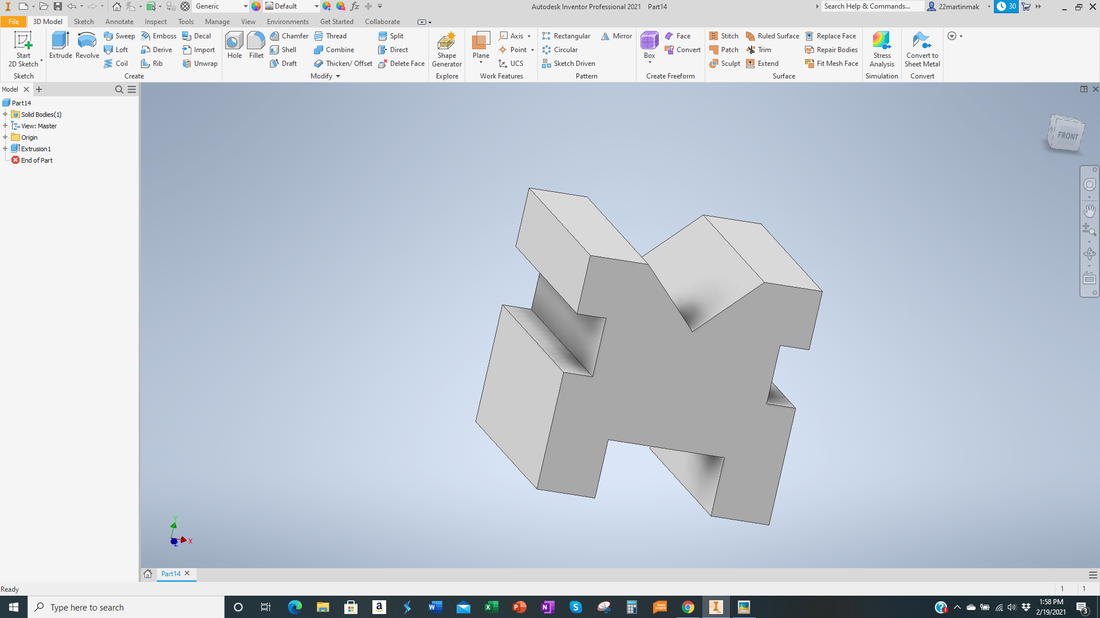
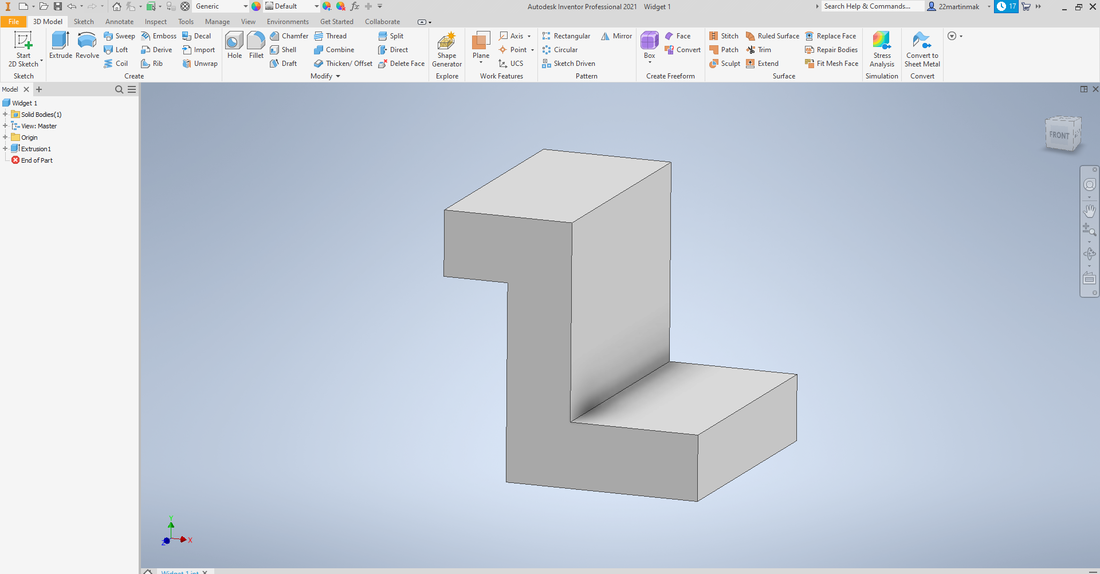
Step 3.
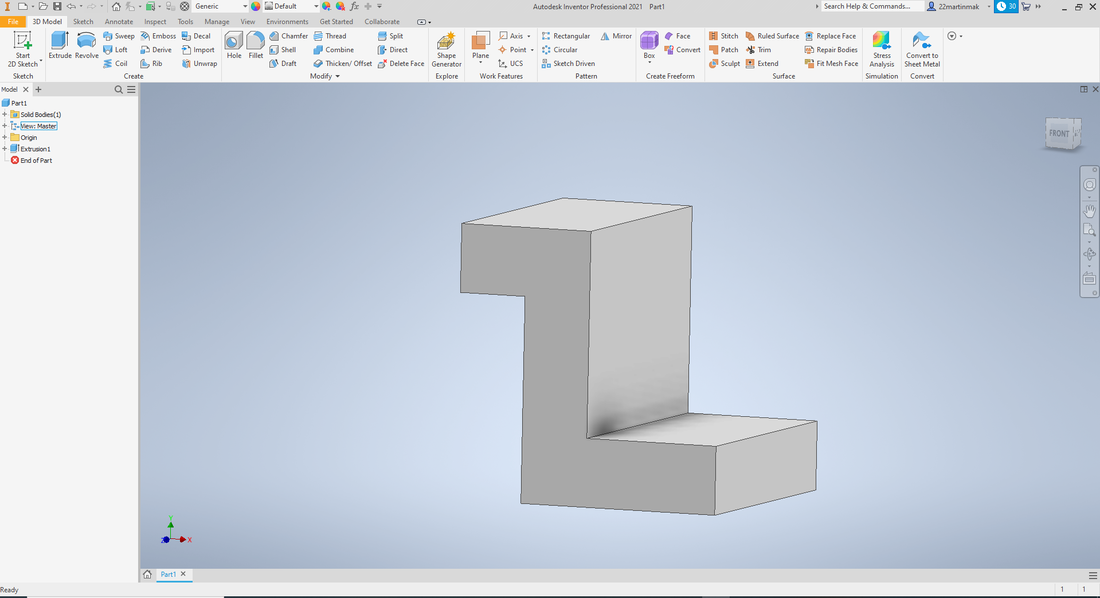
With your widget all shaped and sized right you will now need to extrude that shape. In the upper left hand corner of the tool bar, there is an extrude button. If you click on that and click the face that you want to extrude, you can insert the length you want it to be. Then you will get what look like to the right.
With your widget all shaped and sized right you will now need to extrude that shape. In the upper left hand corner of the tool bar, there is an extrude button. If you click on that and click the face that you want to extrude, you can insert the length you want it to be. Then you will get what look like to the right.
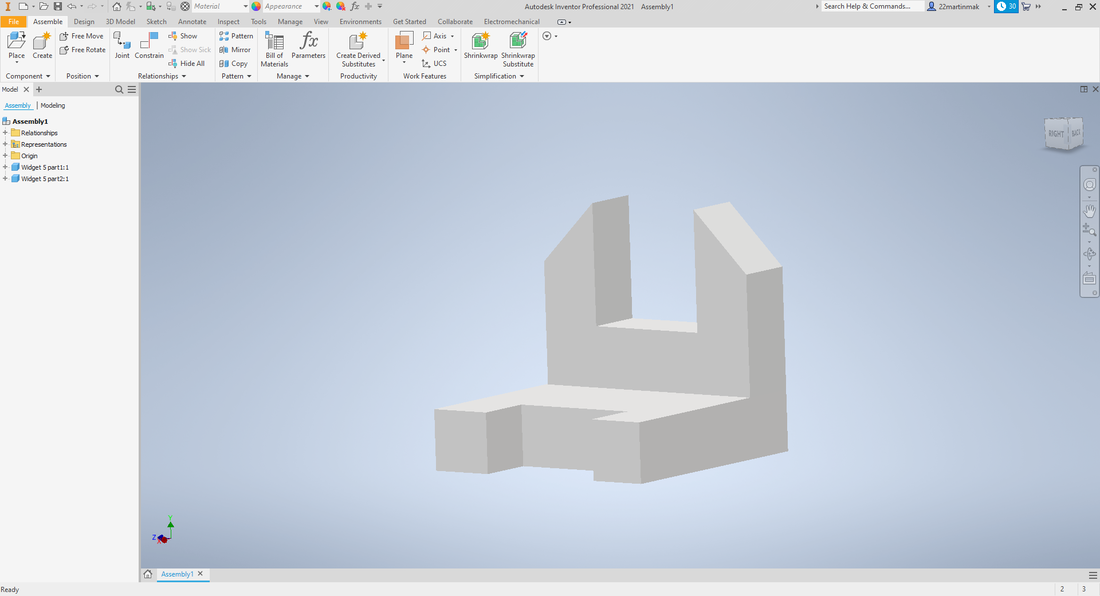
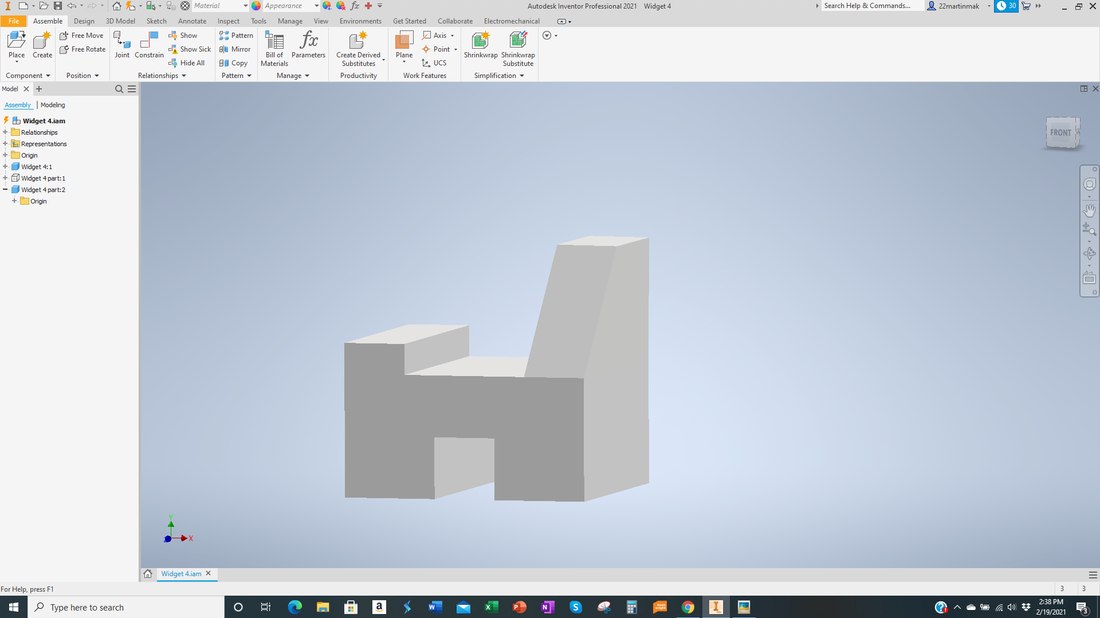
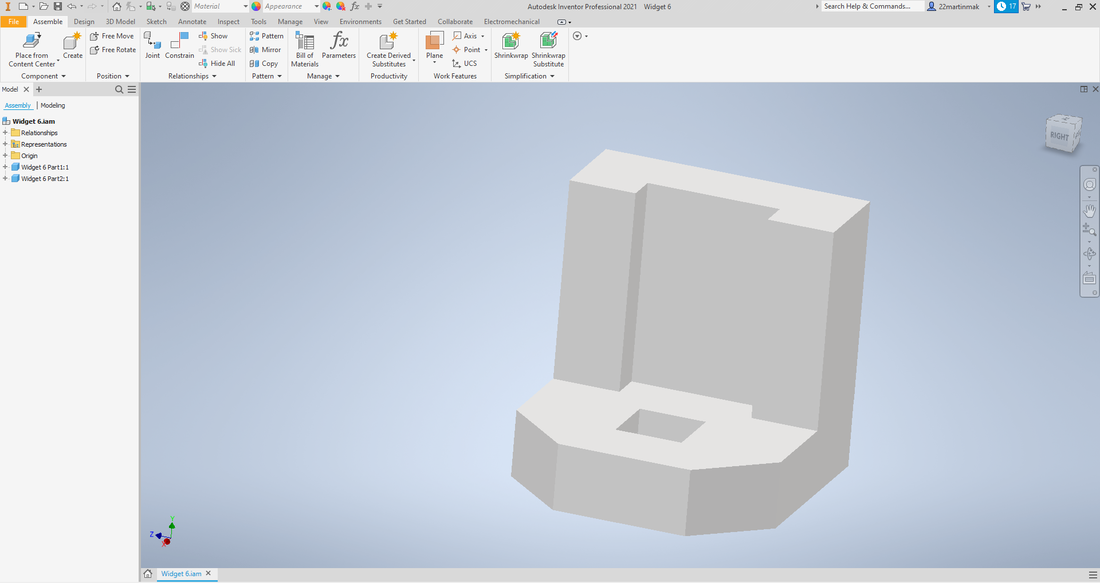
All Of My Widgets
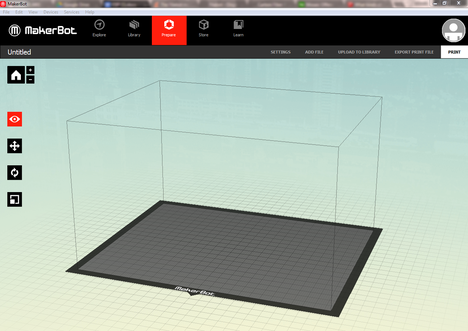
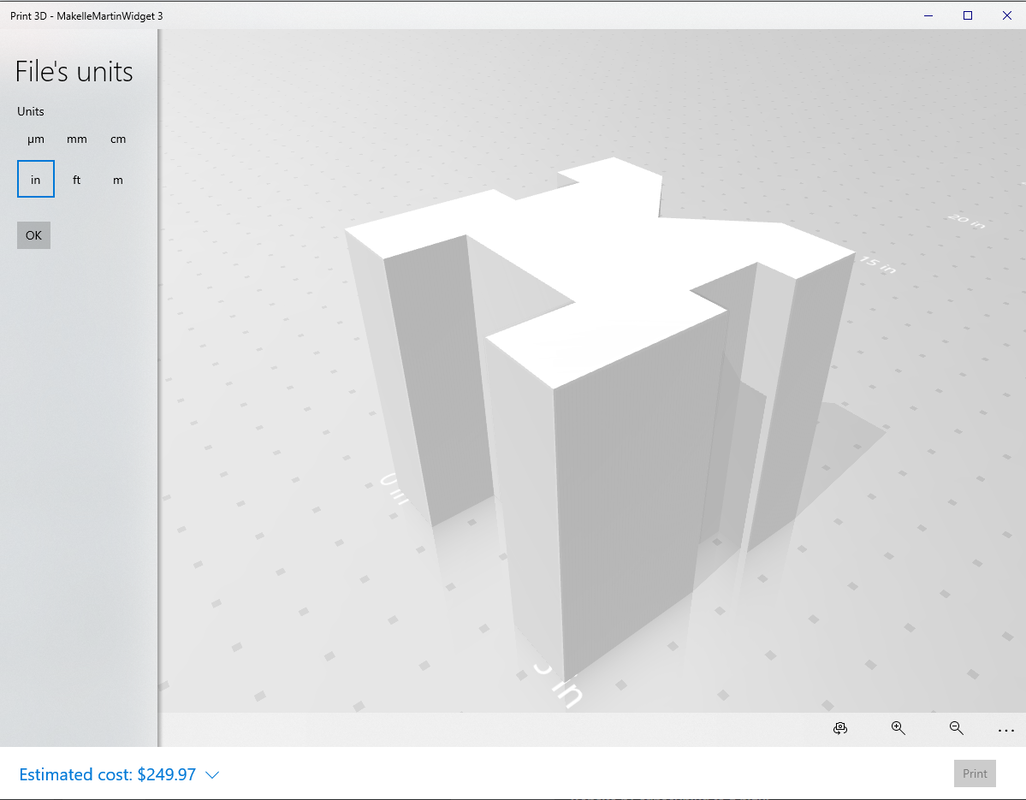
Printing Using MakerBot
|
|
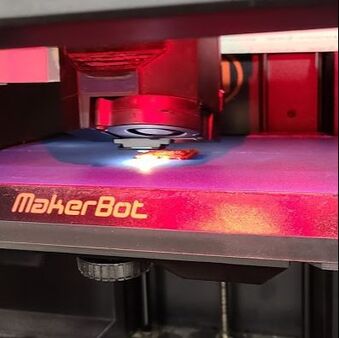
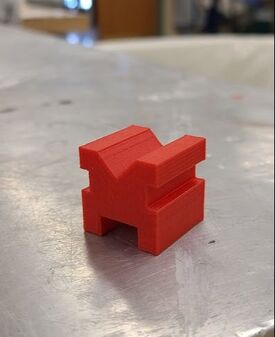
Printing & Final 3D Widget
|
|
Throughout this process of working in Inventor I have learned a lot. It is harder than what I thought it would be like. You really should learn and know what you are doing before diving into or you are just going to get frustrated. Although I had a hard time with it, I was able to find a way to enjoy the process. I don't think I will want to do it again though. :)
