We were given the task to create a 3D printed object that could perform a task. We could chose from several different objects to create, and chose to make and print a phone stand that can hold a charging wire as well.
|
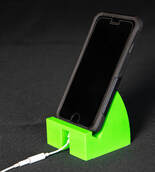
I found this image on the internet and decided this is what I wanted for the basic shape and design for my phone stand.
|
|
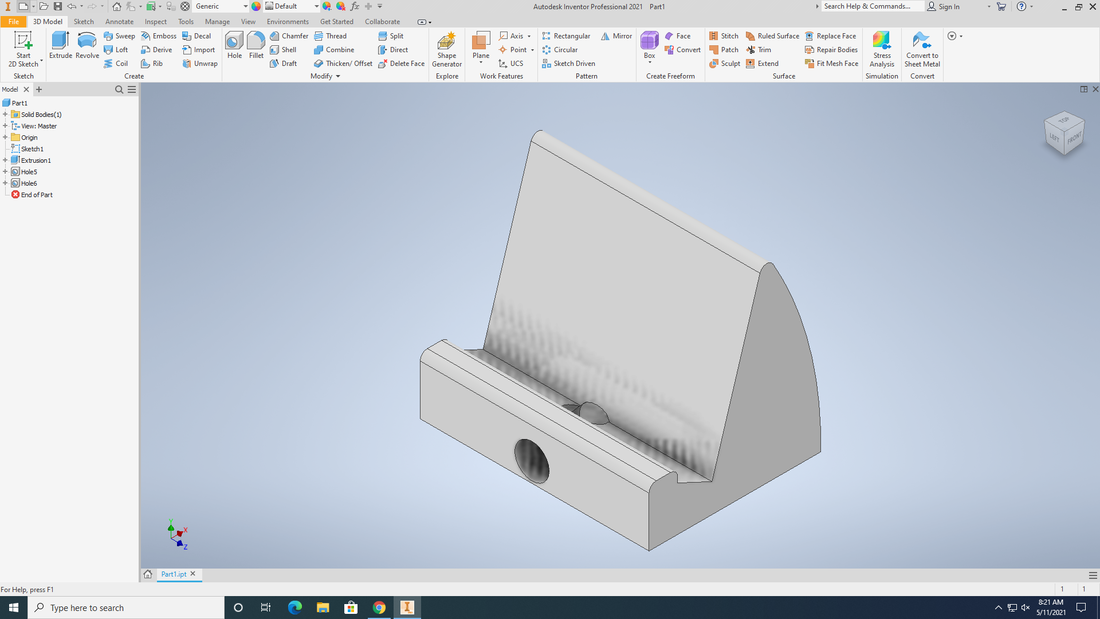
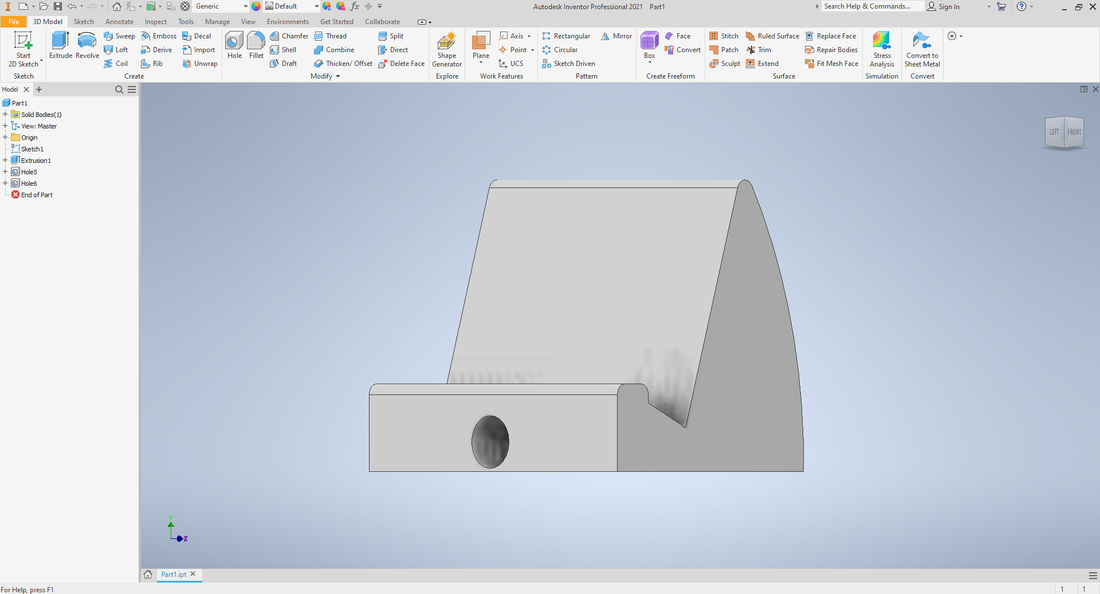
1. To create my 3D printed phone stand, I first had to make the design. I used inventor and create the shape and size I wanted. Then after extracting my image I put in 2 holes that would hold the charging cord.
|
|
|
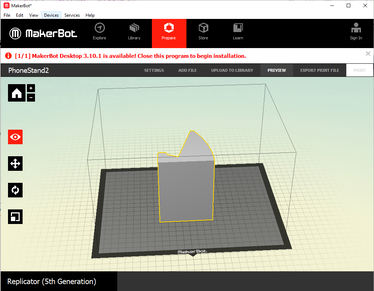
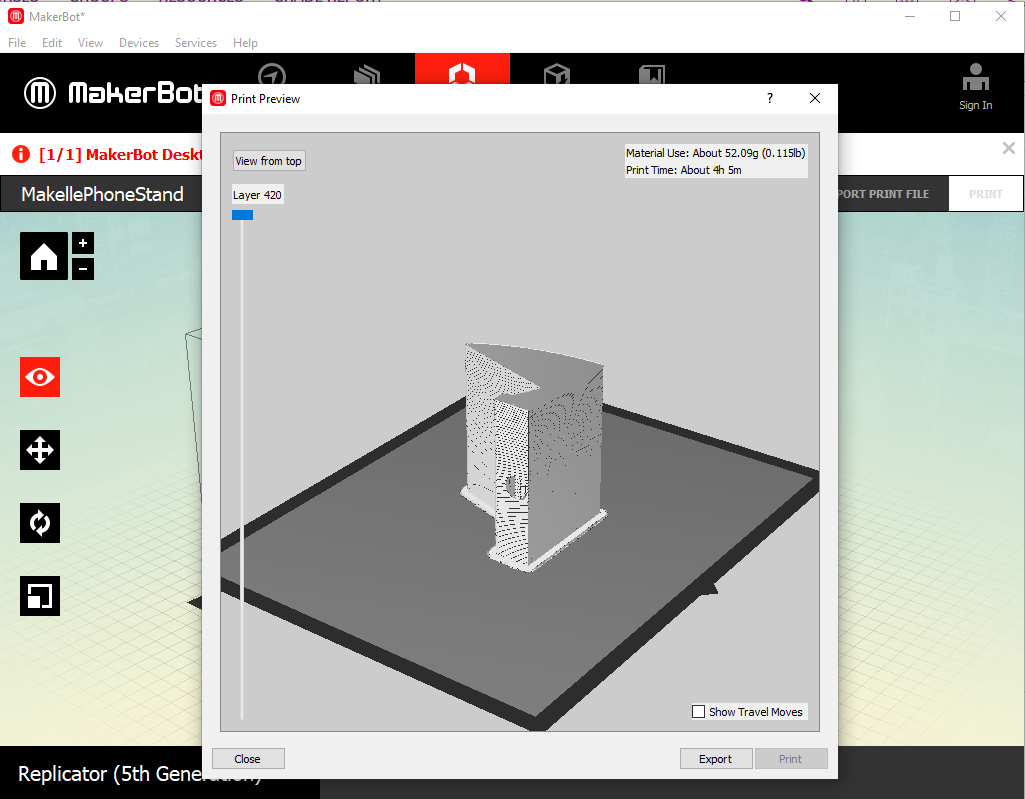
2. After I had created the finished 3D image I was able to save it as a STL file. Then I could open it in MakerBot and begin to get it ready to print. I had to make sure that size was correct and that it would be on the right side to print.
|
|
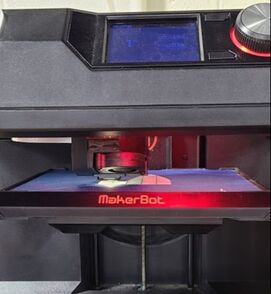
3. When it was all ready in MakerBot it was ready to be printed. So I looked at the preview to make sure that it would print right. Then I took the flash drive down and got it all setup at the printer and began to print out the phone stand.
|
|
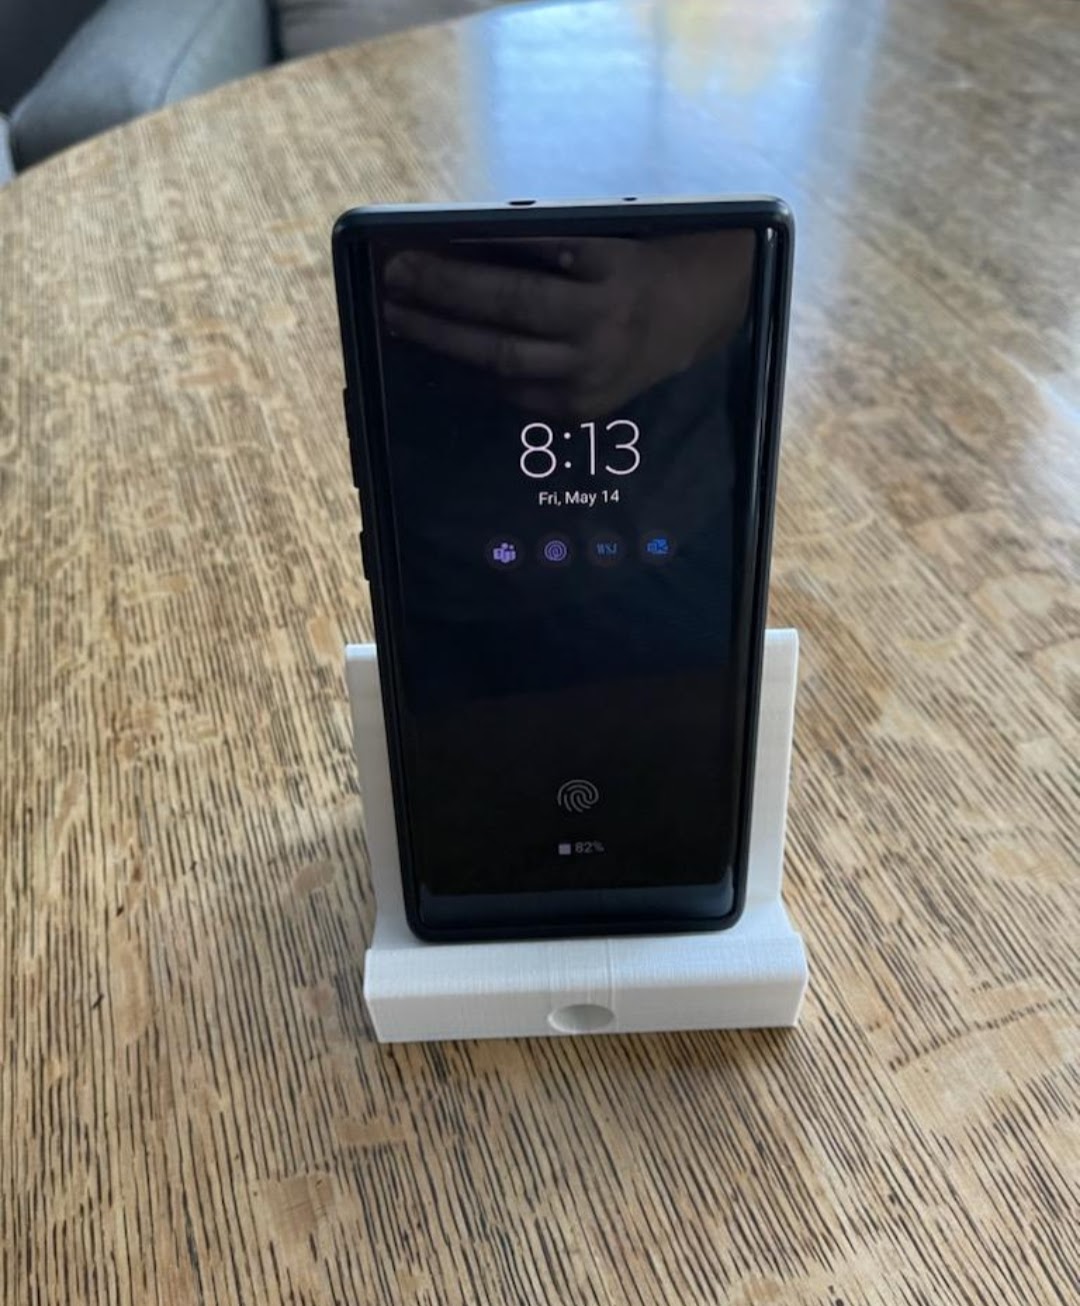
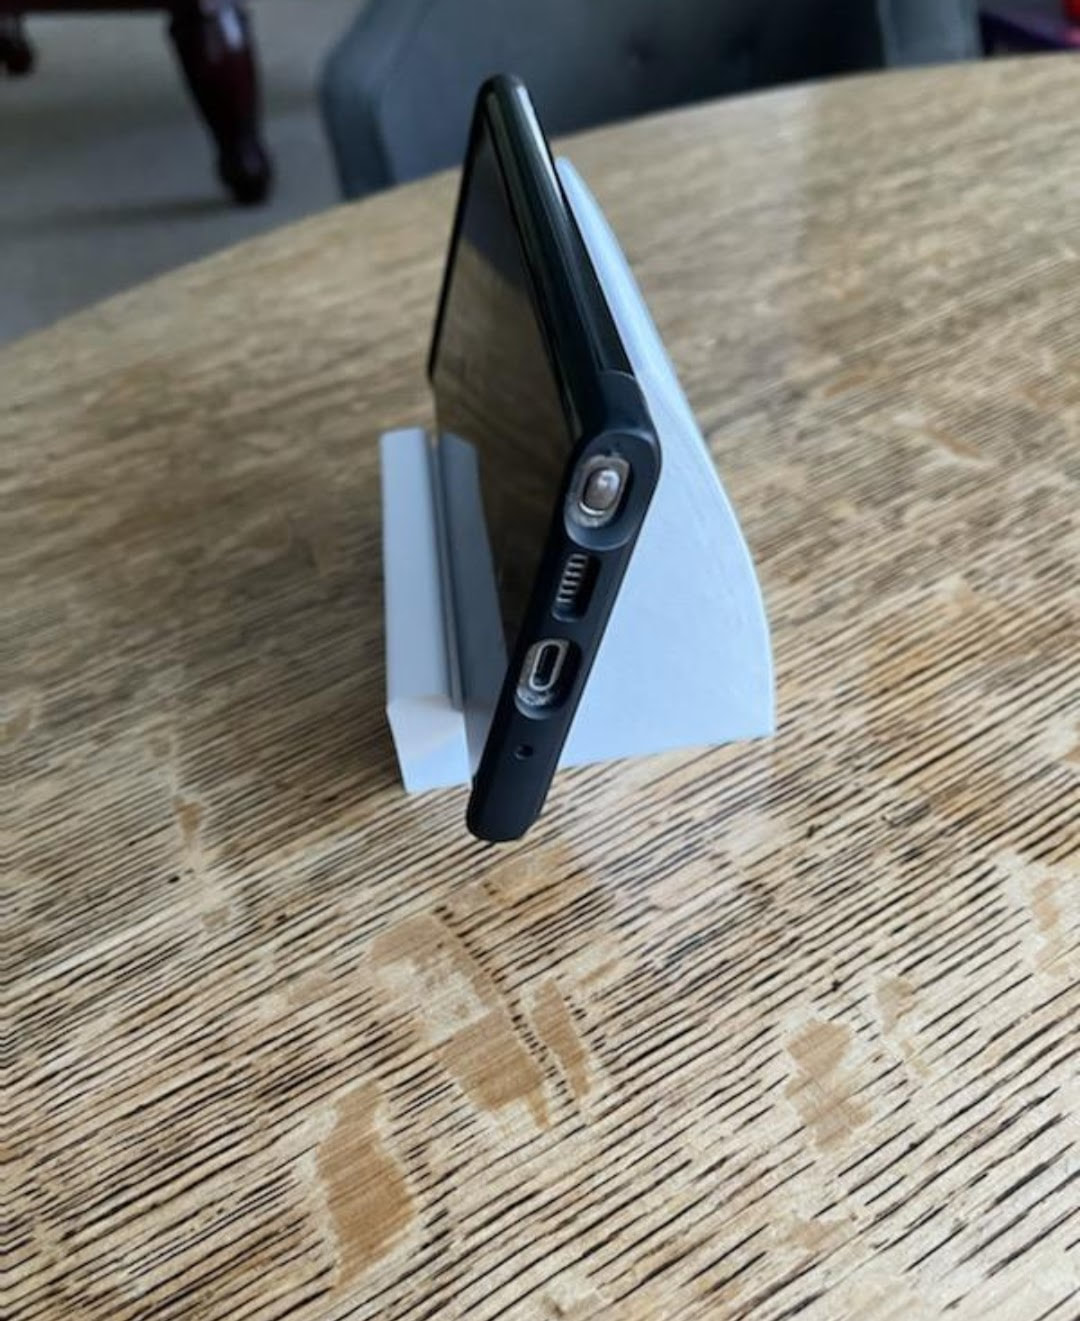
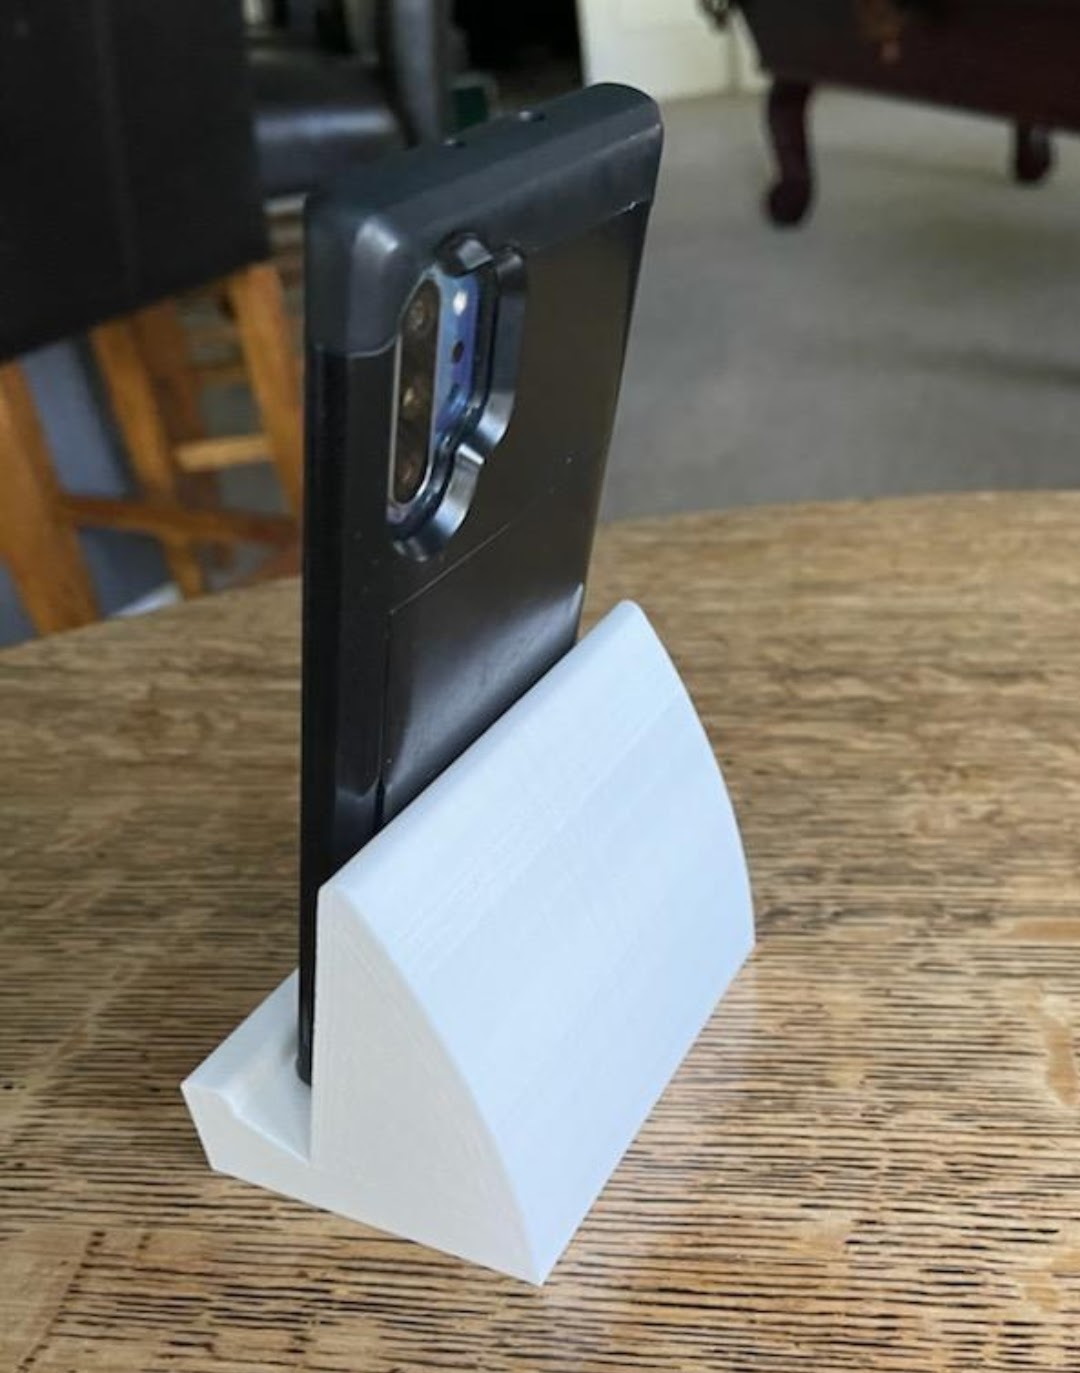
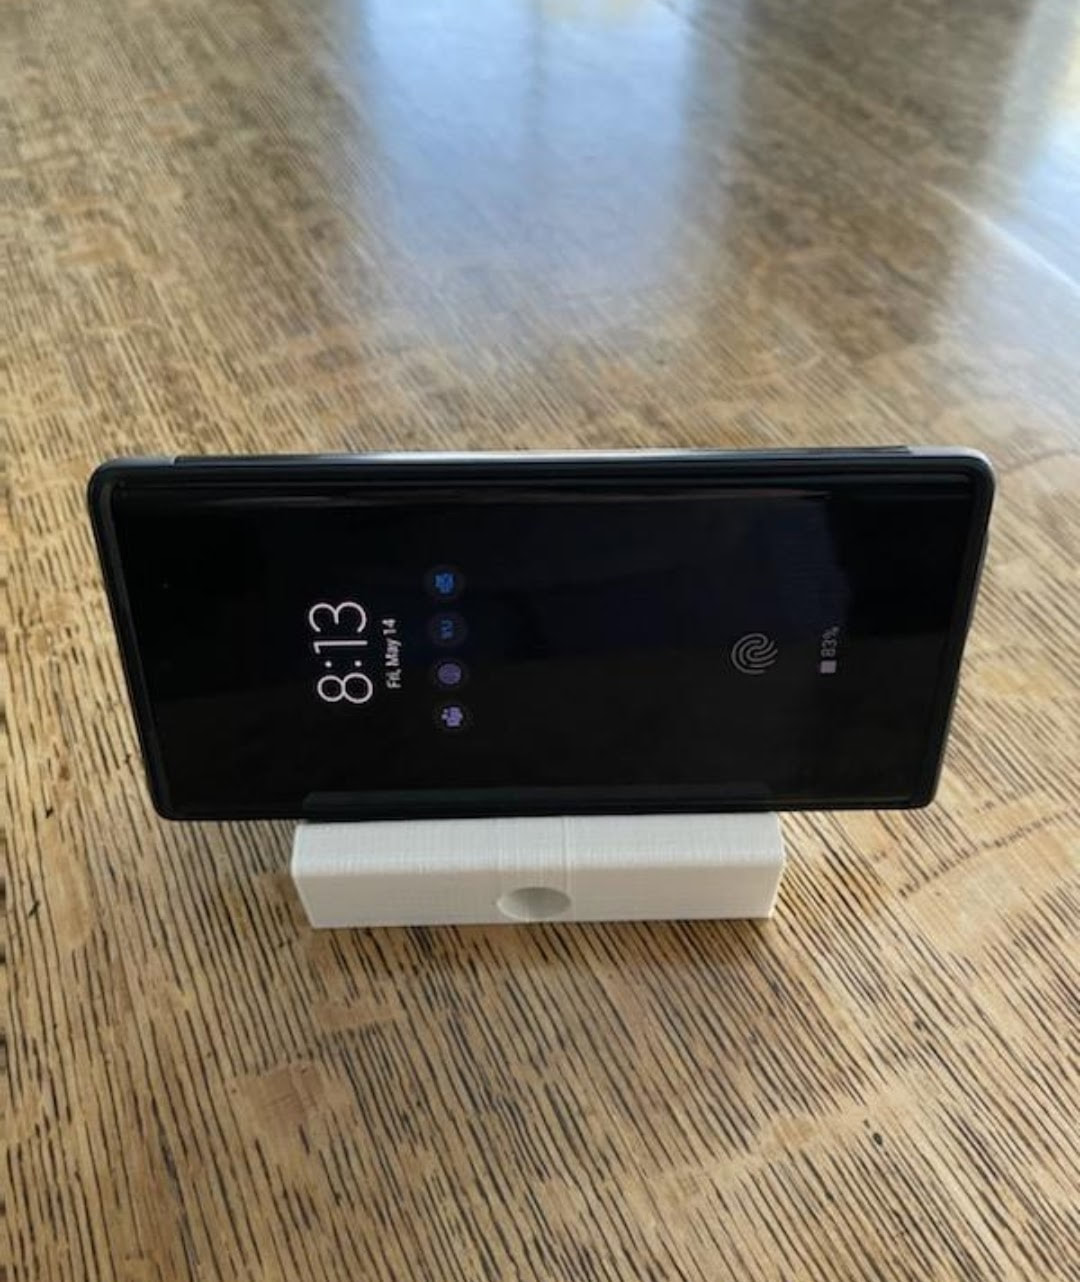
When I first created my 3D phone stand in Inventor, it was a little bare. It lacked anything really cool or had any kind of advanced part to it. Even though it is still pretty boring or not very technically advanced I still had to learn to do some new stuff. I learned how to round the edges of the 3D object. I also learned how to place a hole in the object as well. I was able to get the 2 holes connected so that I can put the charging cord through. If I were to change anything, I would have made it a little taller to make the cord work better and I would have also made it a little more angled to get a better picture from the phone. Overall I really liked how it turned out. It was cool to be able to create something of my own and be able to keep it.
